Close
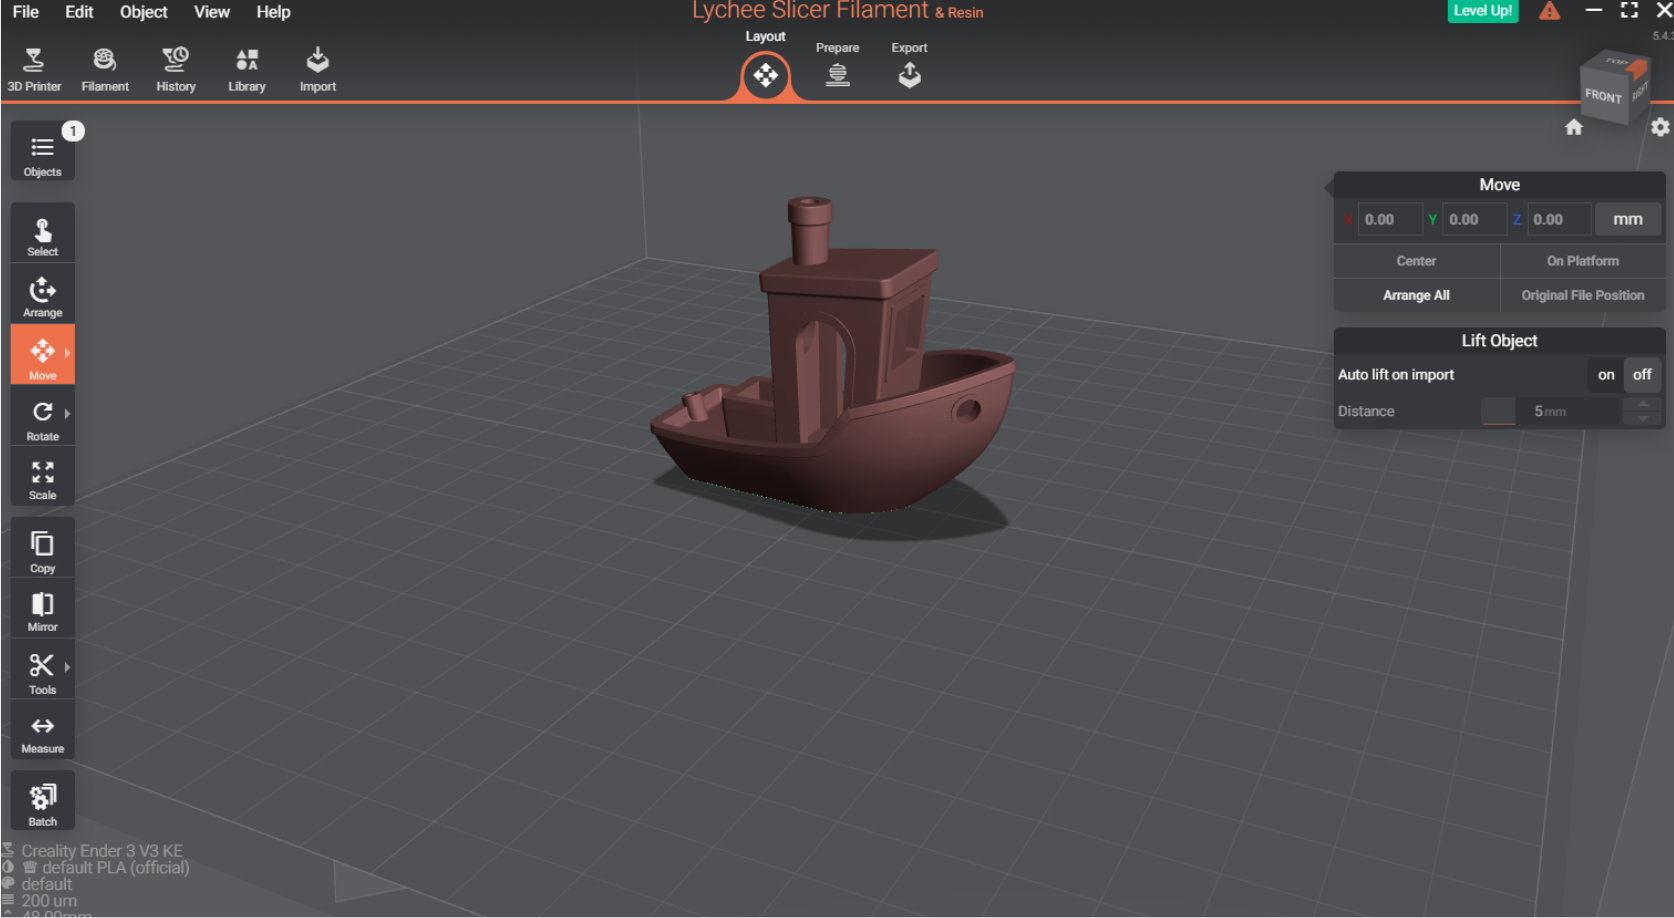
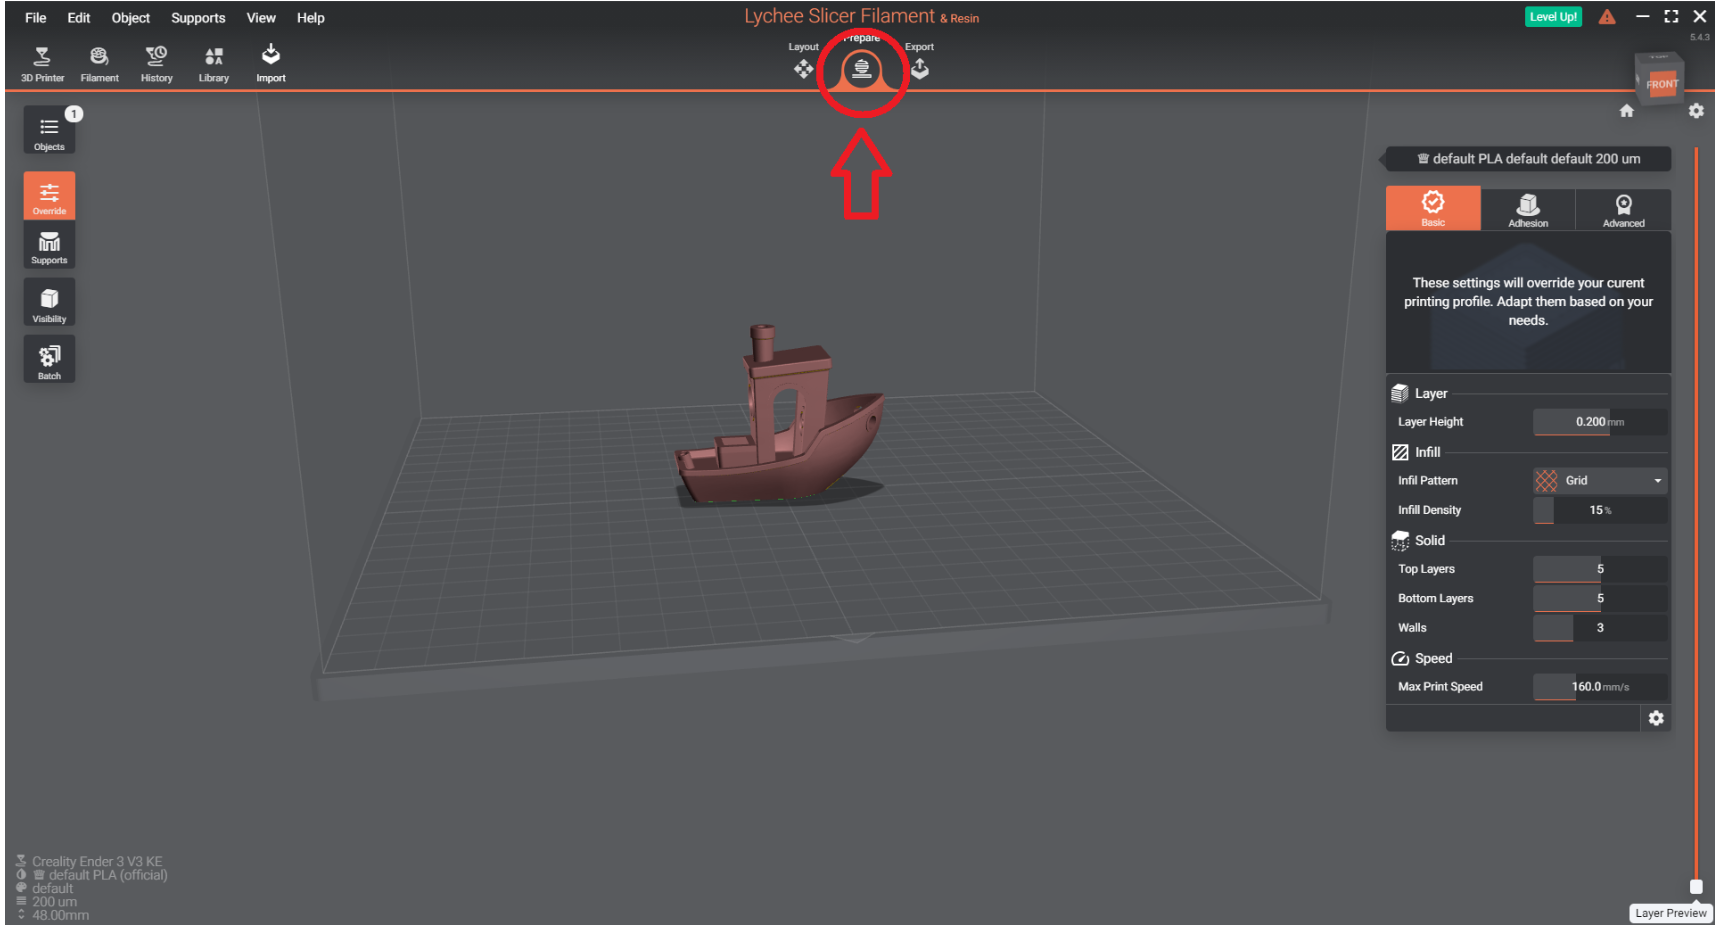
You’re about to start a fantastic journey with the Creality Ender-3 V3 Printer, creating your very first 3D model—Benchy. This guide is packed with easy steps to get you from loading the Benchy model to your first successful print. Whether you’re new to 3D printing or brushing up on your skills, we’ve got all the tips you need right here. Ready to dive in? Let’s Begin and unleash your creativity with endless possibilities!
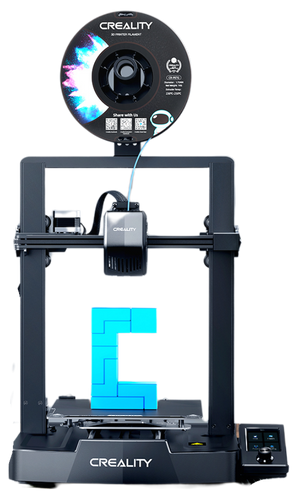
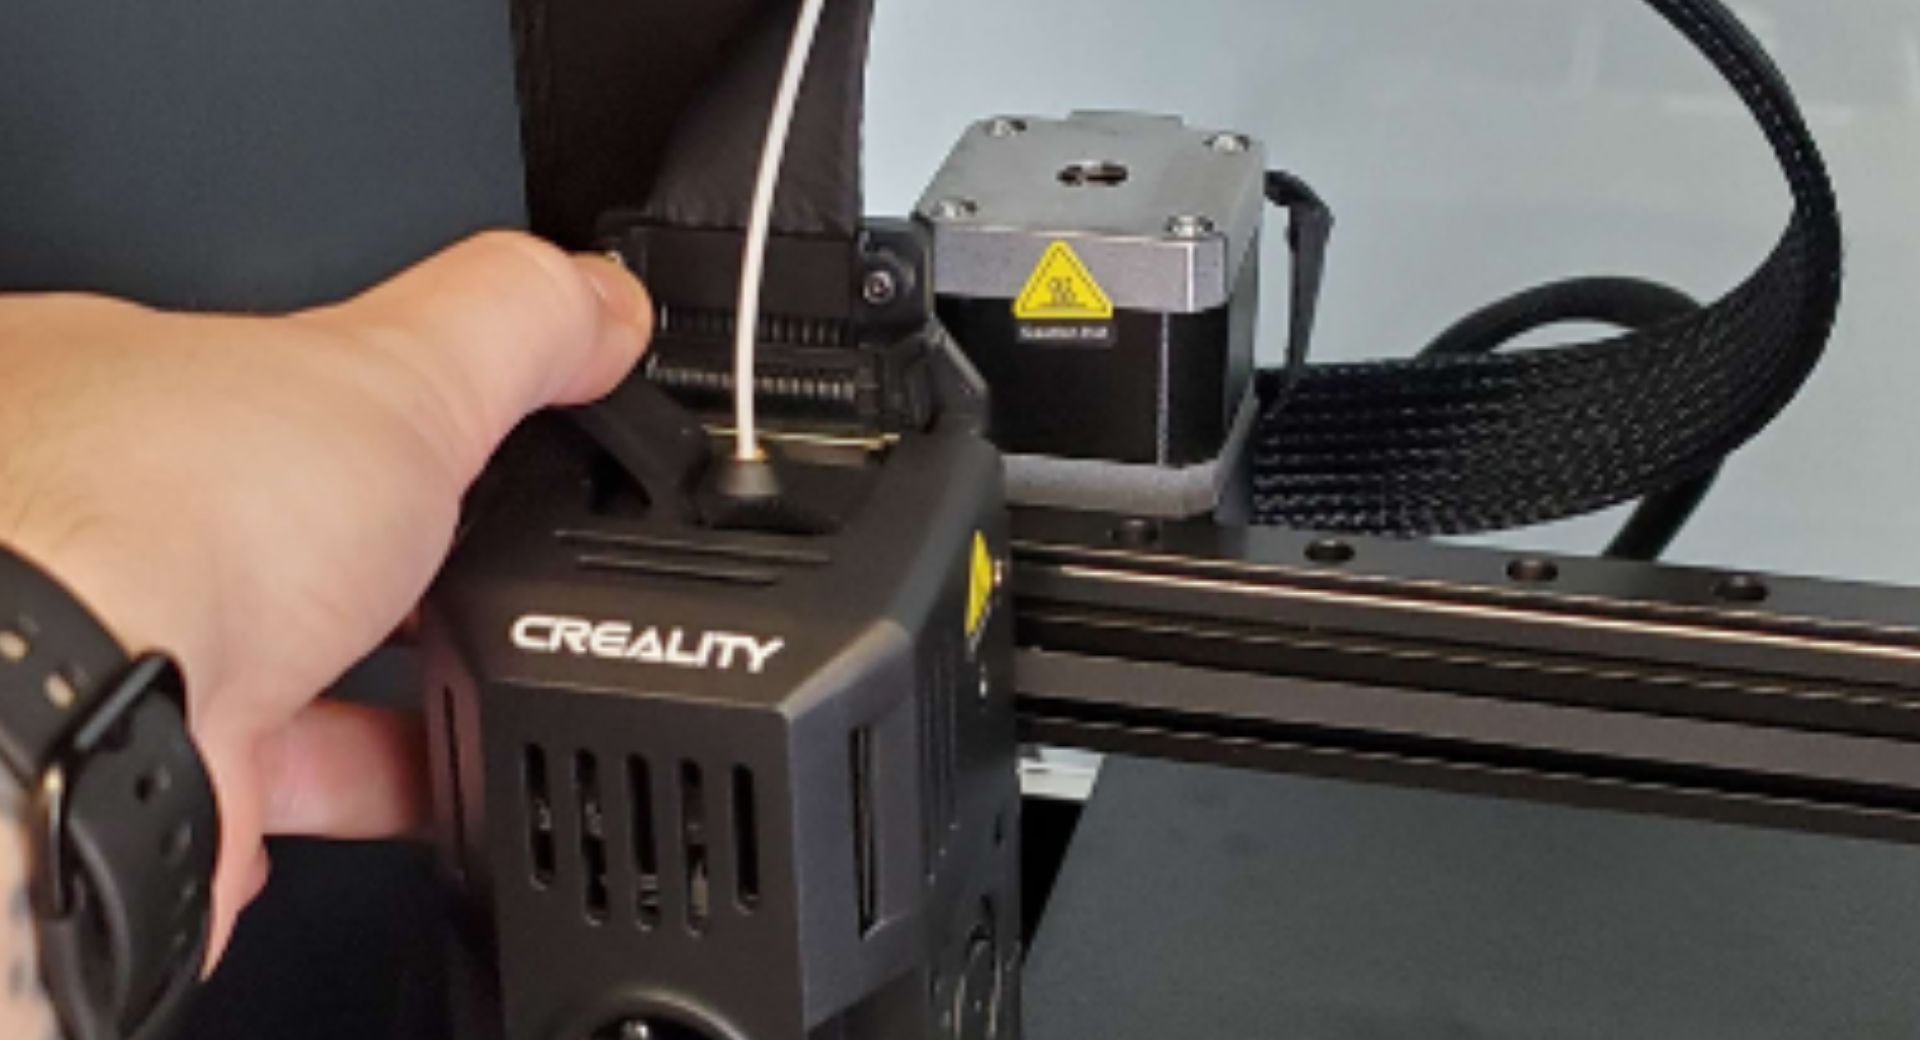
The Creality Ender 3 V3 is a popular and affordable 3D printer known for its reliability, precision, and beginner-friendly setup. With its sturdy frame and open-source design, this printer is ideal for hobbyists, makers, educators, and small businesses.
Key features include a generous build volume, fast heating bed, and an easy-to-use interface. The Ender 3 V3 comes partially assembled, making setup quick and straightforward, even for first-time users. It supports a wide range of filament types and offers excellent print quality for its price range.
Whether you’re printing prototypes, models, or functional parts, the Ender 3 V3 delivers consistent performance and detailed results. Its open-source firmware also allows for upgrades and customization as your skills grow.

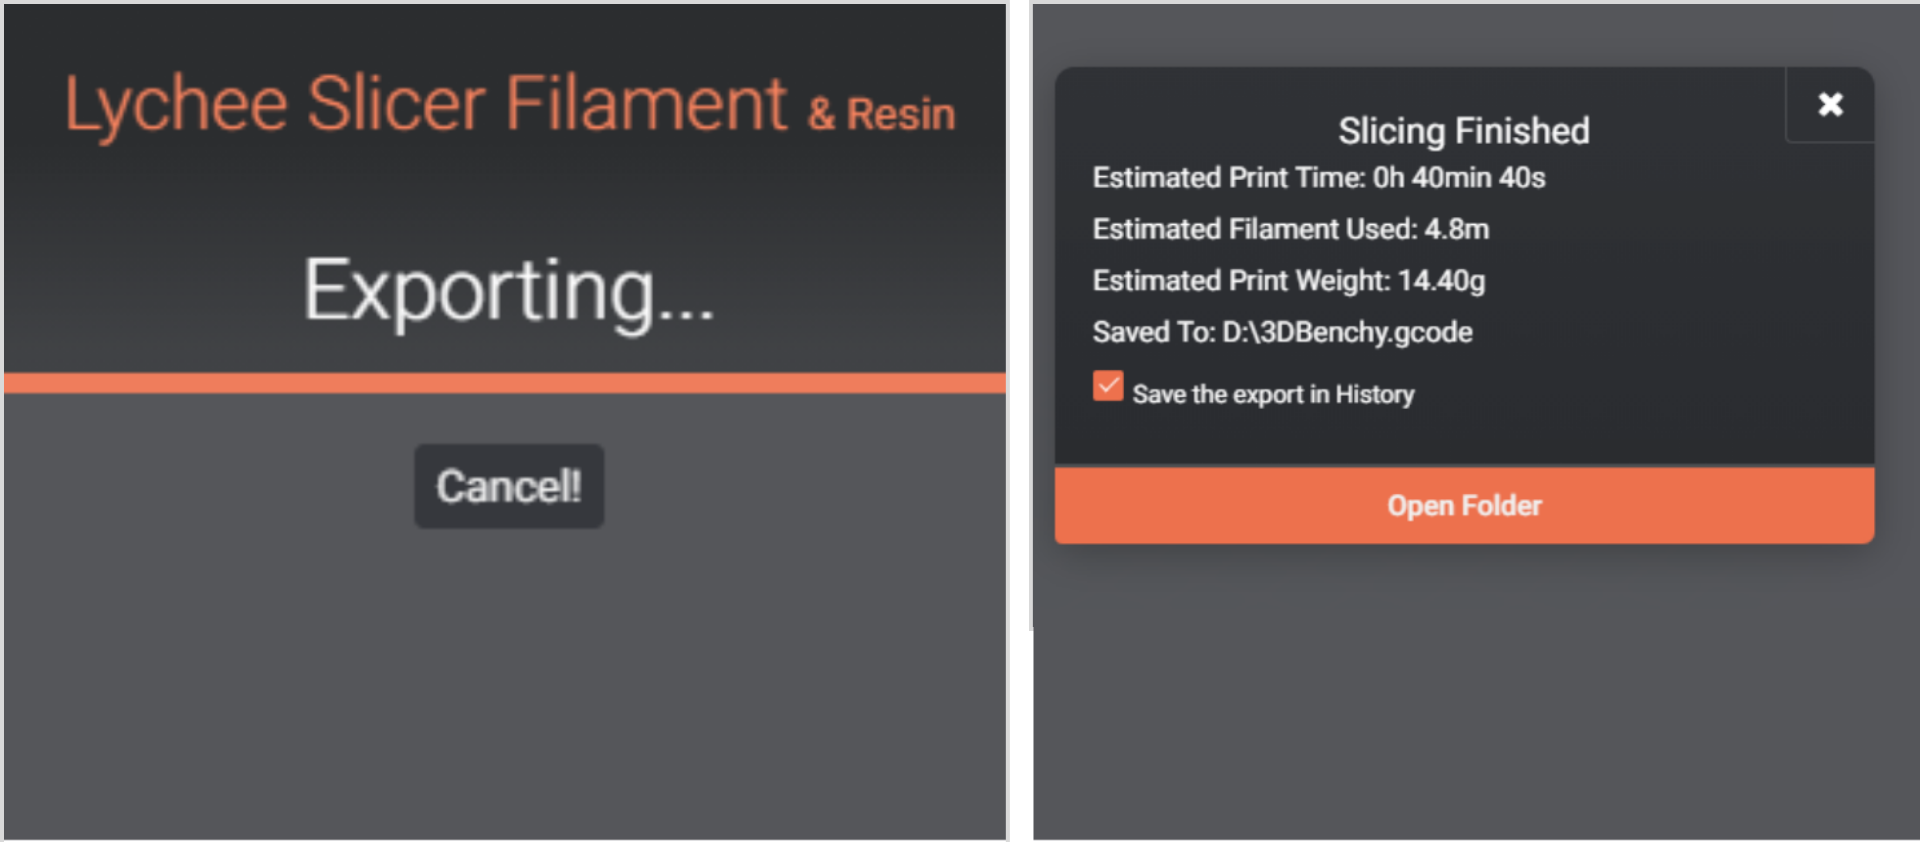

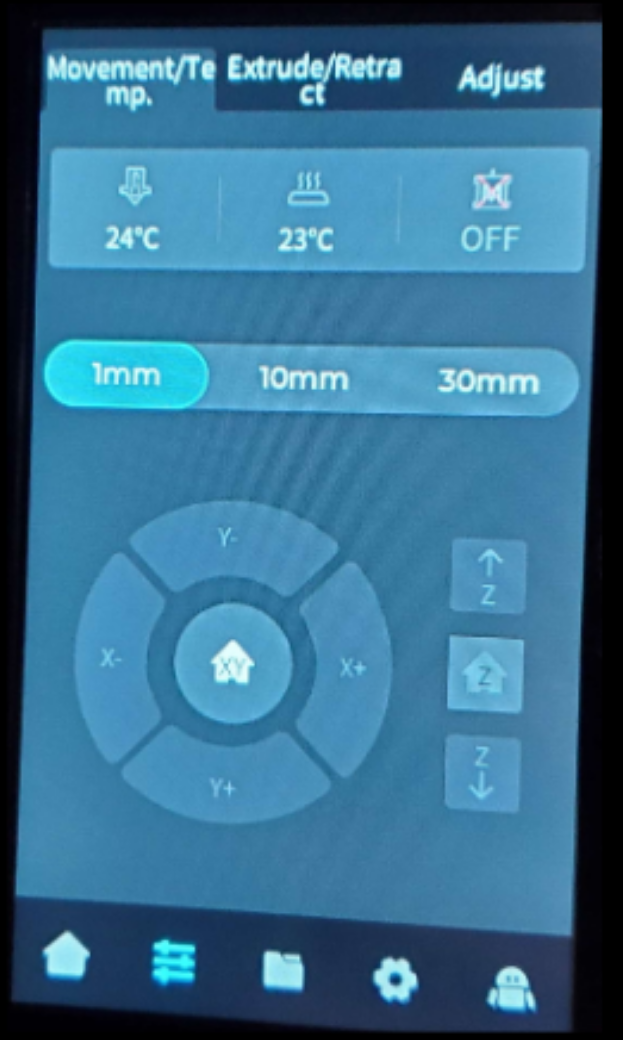
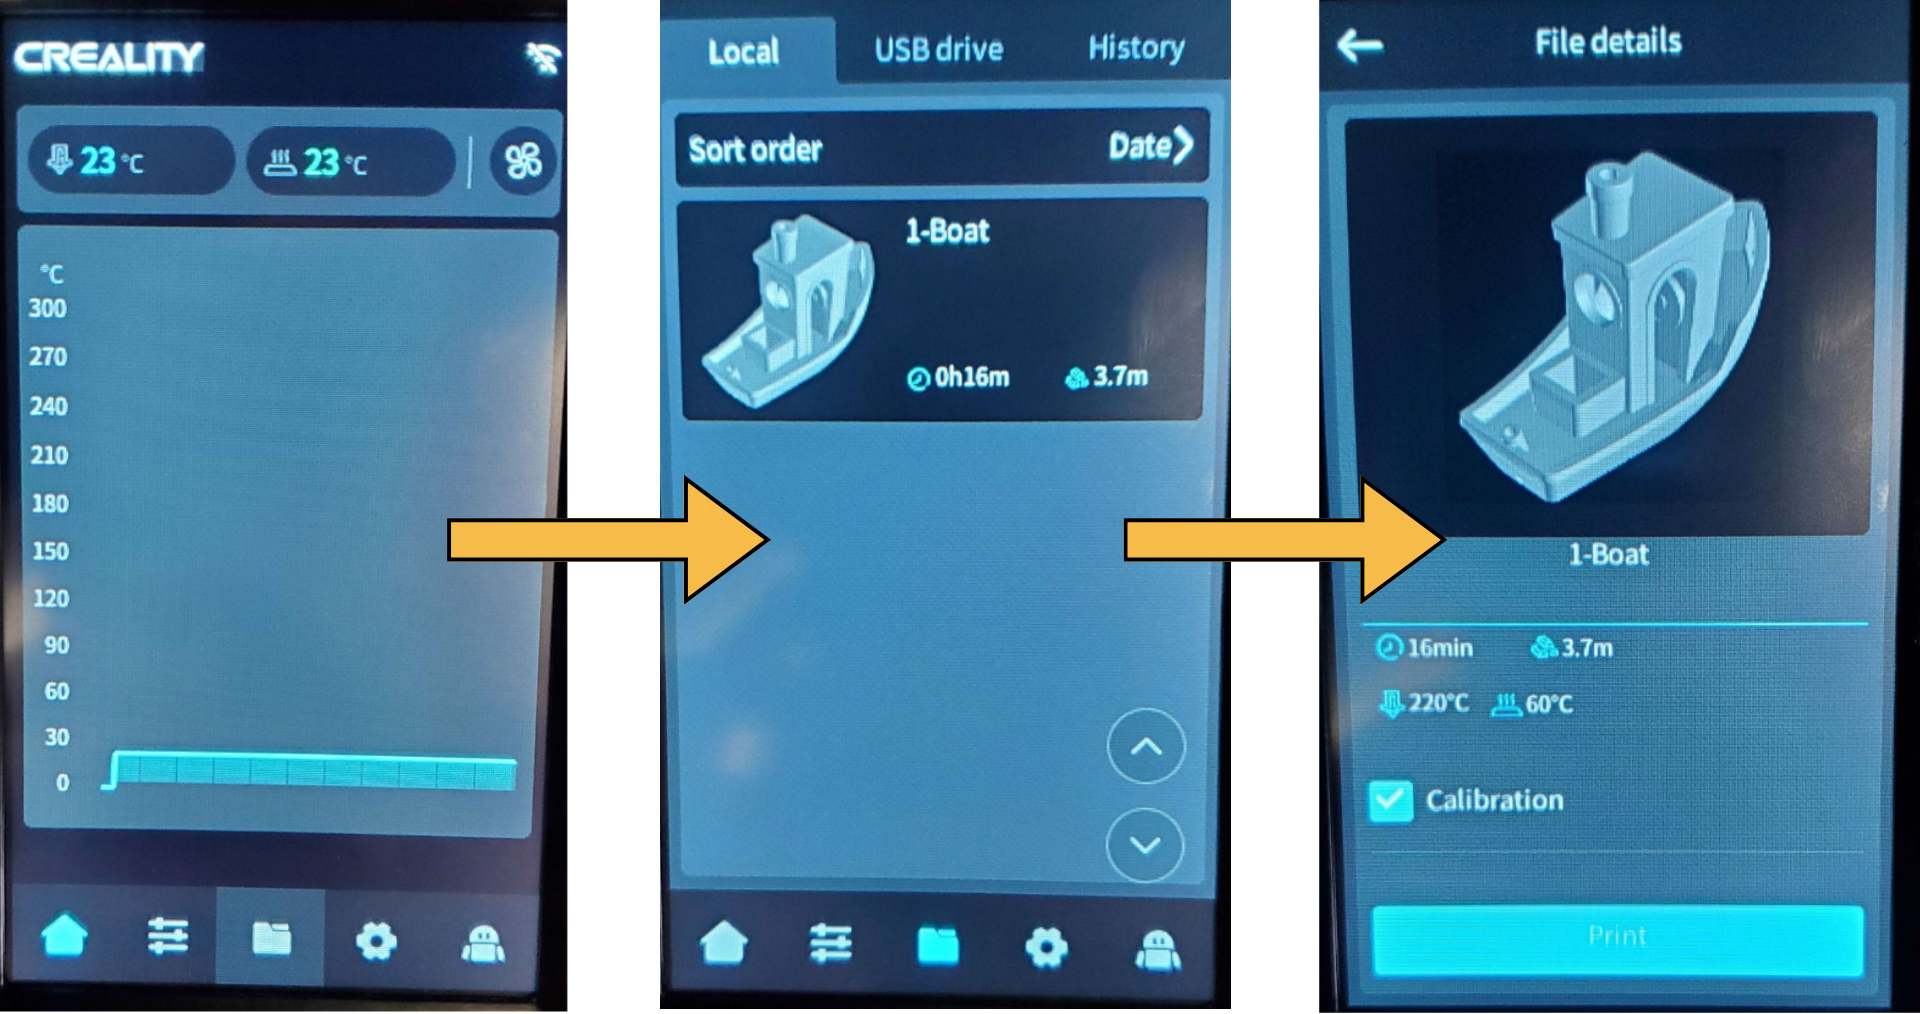
File Placement:
Saved files must be placed in the root directory (not a subdirectory) of the USB flash drive.
USB Usage:
Do not insert or remove the USB flash drive during the printing process.

Loading event details…
Putman Family YWCA
52 Ottawa Street North
Hamilton ON 1A1 1A1
Lorem ipsum dolor sit amet, consectetur adipiscing elit, sed do eiusmod tempor incididunt ut labore et dolore magna aliqua.
SCAN FOR MORE INFORMATION OR TO REGISTER IF APPLICABLE:

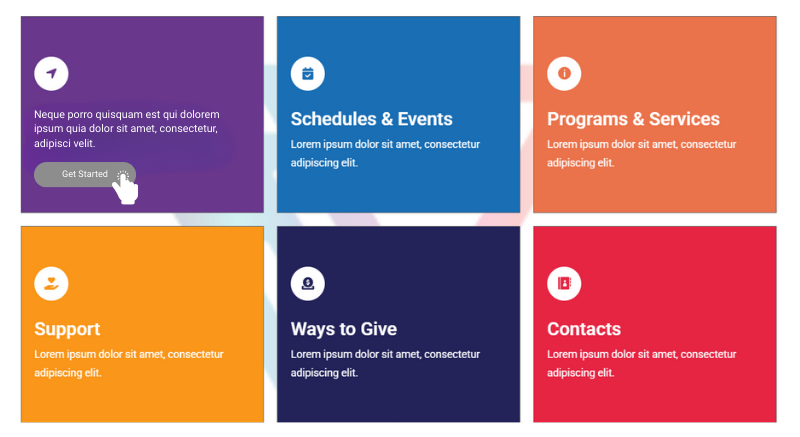
Tap “Get Started” under:
These will take you to tools that help you discover what you’re looking for.

")

")


Putman Family YWCA MakerSpace
52 Ottawa Street North,
Hamilton ON
In id cursus mi pretium tellus duis convallis.