loader image

intro to cricut

Learn what a Cricut machine is, how it works, and how to create simple projects. This beginner module covers Cricut models, basic tools, and using Design Space software to complete your first cut.
learning objectives

what is a cricut machine?

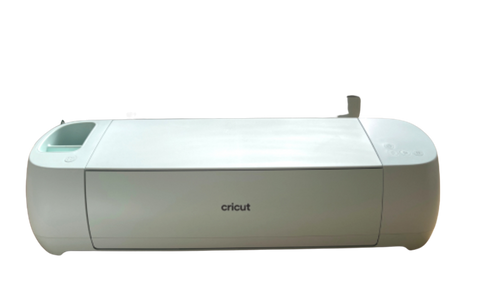
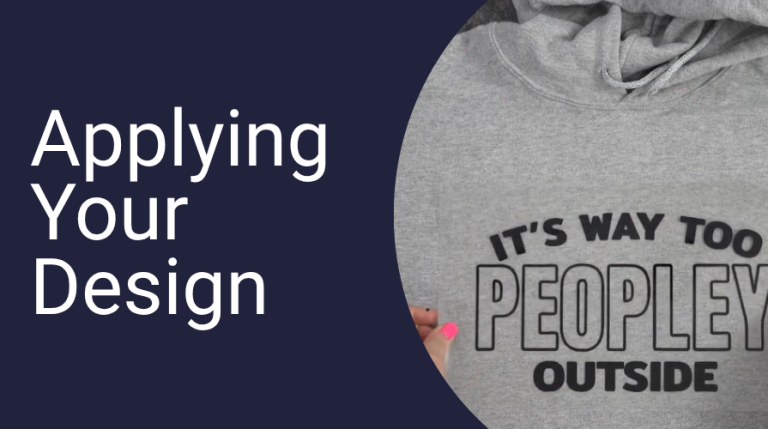
A Cricut (pronounced like Cricket – don’t worry, a lot of people have this issue – you’re in great company!) is a digital cutting machine that works like a printer;
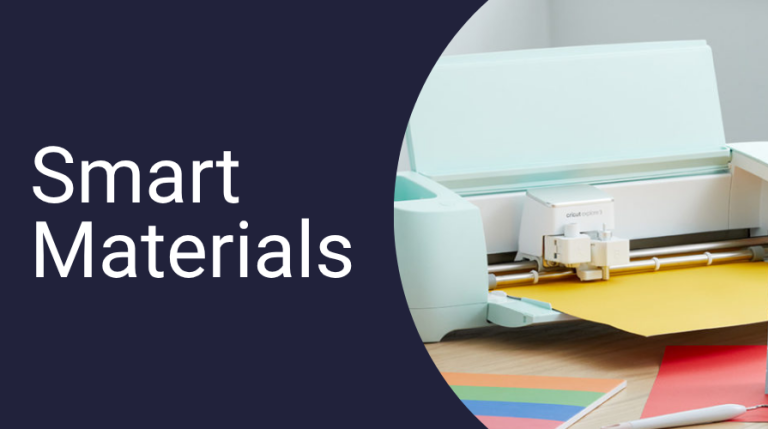
but instead of printing ink, it cuts materials with a tiny, precise blade. You can use it to cut paper, vinyl, iron-on, fabric, leather, and even thin wood.

It connects to your computer, tablet, or phone and uses Cricut Design Space software to turn your digital designs into real-life creations.

what can you make?

how does it work?

Using Cricut Design Space (a free app), you can upload or create a design, choose your material, and send it to the machine.

The Cricut then uses the right tool (a blade, pen, or scoring stylus) to bring your project to life.

It’s as easy as:

  1. Design your project using the Cricut Design Space app.
  2. Send it to your Cricut machine through Bluetooth or USB.
  3. Cricut cuts or draws your design on your chosen material.
  4. You weed (peel) and assemble your project.
  5. Enjoy or apply your creation!

a quick overview

  1. Plug in your Cricut (Explore, Maker, or Joy).
  2. Connect via Bluetooth or USB to your device.
  3. Open or download Cricut Design Space (free software with some options for purchases.

Cricut Design Space? But what if I am not a designer?

Do not worry! The YWCA Hamilton’s Makerspace is designed and a place for exploration and learning!
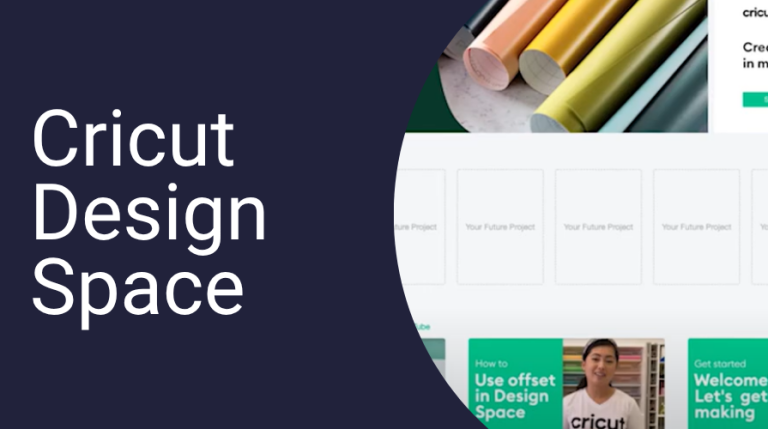
Cricut Design Space can seem daunting but it is actually very user friendly. Here is a video to show you some of the basics and show you the capabilities the program has.

how to use the cricut explore in 5 steps

From setup to finished project, everything you need to know.

Step 1: Set Up Your Machine

Unbox and connect your Cricut Explore 3

  • Plug your Cricut into a power source and press the power button.
  • Connect it to your computer or mobile device using Bluetooth or a USB cable.
  • Download Cricut Design Space at design.cricut.com
  • Sign in or create a Cricut account. Design Space will walk you through setup and update your machine if needed.
  • Once connected, you’re ready to begin your first project!
Step 2: Create or Choose a Design

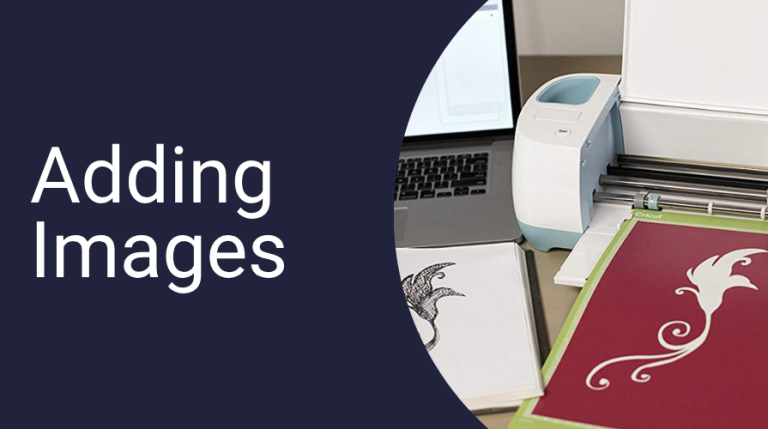
Use Cricut Design Space to build your project

    • Open Design Space and click “New Project” to access your blank canvas.
    • Browse the Projects or Images tab for ready-to-use designs. Many are free or included with Cricut Access.
    • Want something custom? Use the Text and Shapes tools or upload your own SVG, JPG, or PNG file.
    • Arrange your design on the canvas: resize, rotate, align, and preview exactly how it will cut or draw.
Step 3: Choose Material & Load It Into Your Cricut

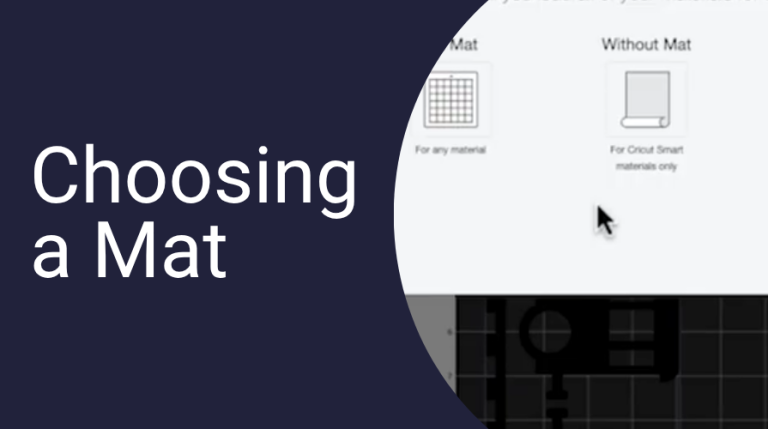
Select your material and prep for cutting

    • Design Space will prompt you to select your material (e.g., Smart Vinyl, iron-on, cardstock).
    • If you’re using Smart Materials, you don’t need a mat. For all others, use a LightGrip or StandardGrip mat.
    • Place your material on the mat (if needed) with the correct side facing up.
    • Insert the mat or material into the machine and press the flashing Load/Unload (arrow) button.
Step 4: Press “Go” and Let It Cut or Draw

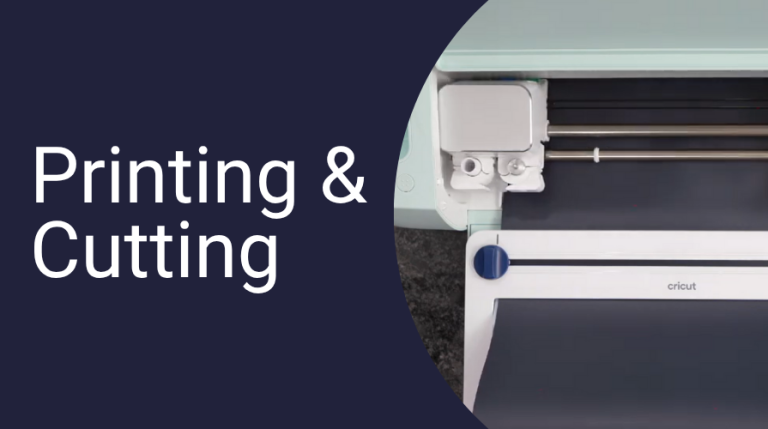
Time for your Cricut to bring the design to life

    • Once loaded, Design Space will confirm your settings and tool selection.
    • Make sure the correct blade or pen is inserted (default is the fine-point blade).
    • Press the flashing “Go” (C) button to begin the process.
    • The machine will now cut, draw, or score your design based on your layout and materials.
    • When finished, press the Unload button to release your project.
Step 5: Weed, Assemble, and Apply Your Design

Add finishing touches and show off your creation

    • Use weeding tools to remove any unwanted vinyl or paper pieces (especially for intricate designs).
    • If you’re using vinyl, apply transfer tape to lift the design and place it on your final surface.
    • For iron-on materials, use a heat press or household iron to apply the design.
    • Carefully peel the backing and admire your work—perfect for gifts, home décor, clothing, or business branding!

what's in the makerspace?

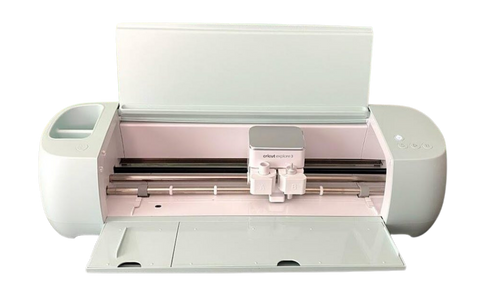
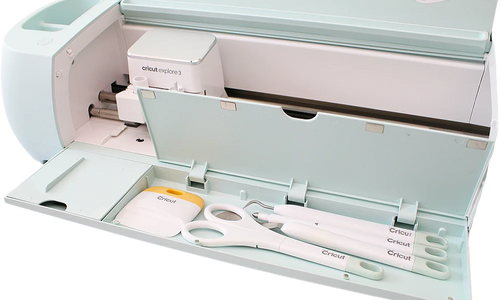
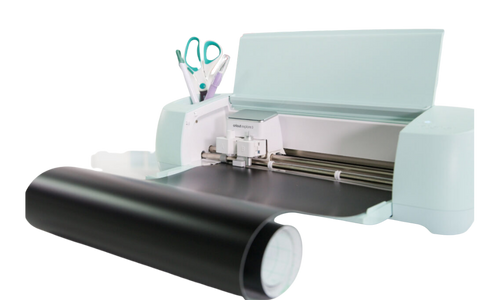
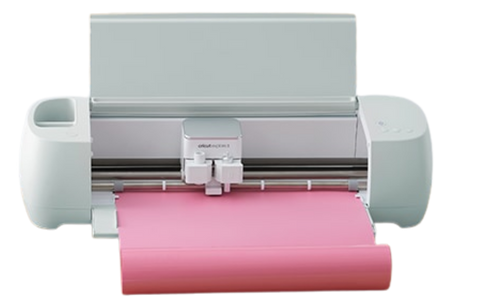
The MakerSpace is equipped with the Cricut Explore 3 and the following accessories:

  • Cutting mats (12″ x 12″)
  • Weeding tools, tweezers
  • Scrapers
  • Pen plotter mount
  • Standard drag knife

We also carry the following materials; though visitors are more than welcome to bring their own as long as they are compatible with the Explore 3:

  • Heat Transfer Vinyl (HTV)
  • Permanent adhesive vinyl 
  • Transfer tape

Most importantly – a Makerspace coordinator that will be there to help you along the way! Make sure you book in advance through our Makerspace booking portal and let us know in advance if you think you will be needing some help!

Happy Making!

Congratulations on completing the first module of your Cricut Machine Learning!